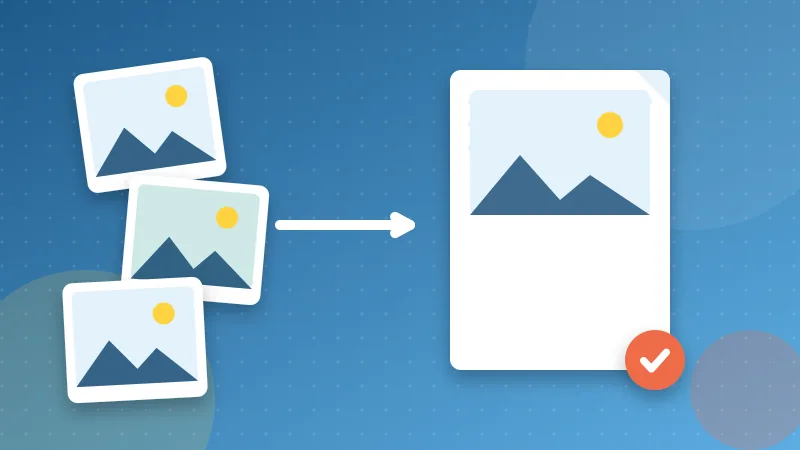
Sooner or later someone asks you to send "everything as one PDF": the photos of a damaged parcel for an insurance claim, the pages of a lease you photographed, receipts for an expense report, a school project made of drawings. Sending twelve separate pictures is messy. A single PDF keeps the order, opens on any device and is easy to attach. Here is how to make one without installing anything, and how to avoid the problems that usually follow.
Get your photos ready first
Five minutes of preparation saves a lot of frustration:
- Put them in order. Most tools add pages in the order you select the files, so rename them 01, 02, 03 or arrange them in a folder if the order matters.
- Straighten them. Phone photos taken in portrait or landscape sometimes end up rotated. A quick look in your gallery app will show you.
- Crop out the table. If you photographed paper documents, trimming the background makes text bigger on the page and looks far more professional.
- Retake blurry shots. No PDF tool can recover text that was not in focus. Good light and a steady hand matter more than megapixels.
The method that works on every device
If you do not want to remember a different procedure for each phone and computer, use a browser-based converter. With JPG to PDF:
- Open the page on your phone or computer and choose your images. JPG, PNG, WebP, GIF and BMP all work.
- Arrange the thumbnails by dragging, or move them with the arrow buttons. Remove any you picked by mistake.
- Choose the page size (A4, US Letter, or the same size as each image), the orientation and a margin.
- Press Convert to PDF and download the file.
The photos are processed on your own device and are not uploaded anywhere, which matters when they show contracts, IDs or medical documents. Phone photos that were saved sideways are corrected automatically, so they should come out the right way up.
On an iPhone or iPad
Recent versions of iOS can do this without any extra app. Open the Files app, find your photos (or save them there first), tap Select, choose the images, then tap the three-dot menu and look for Create PDF. The result is saved next to the images.
The older method still works too: in Photos, select the pictures, tap Share, then Print. On the print preview, spread two fingers over the page thumbnail to open it as a PDF, then use the share button to save it to Files.
On an Android phone
Android varies by manufacturer, so the exact menus differ. Two reliable routes: select the photos in your gallery or Google Photos, choose Share or Print, and pick Save as PDF as the destination. Or use a document scanner built into Google Drive or your phone's camera app, which can combine several shots into one PDF as you go.
If your phone's menus are confusing, the browser method above avoids the differences entirely.
On Windows
Select the images in File Explorer, right-click and choose Print. In the printer list pick Microsoft Print to PDF, set the paper size and how many pictures per page, and press Print. Windows will ask where to save the new PDF.
The result is fine for quick jobs, but you get less control over the page order and margins than in a dedicated converter.
On a Mac
Select your images in Finder, right-click and choose Quick Actions, then Create PDF. If that option is missing, open the images in Preview, show the sidebar with thumbnails, drag them into the order you want, and use File, Print, then Save as PDF. Preview also lets you rotate each page before saving.
Page size, margins and quality
This is where combined PDFs usually go wrong.
- A4 or Letter is best if the file may be printed. Each photo is scaled to fit inside the page, so a wide picture on a tall page leaves white bars. That is normal.
- Same size as the image keeps every pixel and shape, which suits screens and mixed portrait and landscape photos. Pages may differ in size, which is fine for viewing but unusual for printing.
- Margins: a small margin looks tidy. No margin looks like a photo book. Pick whichever fits the purpose.
Our converter places JPG and PNG pictures into the PDF untouched, so the conversion itself costs no quality. The flip side is that the PDF ends up roughly as large as the originals combined.
Keep the file size under control
Modern phone photos are often 3 to 8 MB each. Ten of them make a PDF that email will happily reject. If the result is too big, run it through Compress PDF and pick the Balanced level, which lowers image size and quality just enough to matter little on screen. If you only need part of the photos, remove some pages with Remove Pages or reorder them in Organize PDF.
For official uploads with a size limit, look at the limit first and aim for about 70 to 80 percent of it. Hitting it exactly is risky because some systems count slightly differently.
Common mistakes to avoid
- Sending photos that are upside down or sideways because nobody checked the preview.
- Combining screenshots and photos at very different sizes, which makes the pages feel uneven. Choose a fixed page size when in doubt.
- Forgetting that a PDF made of pictures is not searchable. Names and amounts inside photos cannot be copied or found with Ctrl+F.
- Deleting the originals before checking the PDF opens correctly on another device.