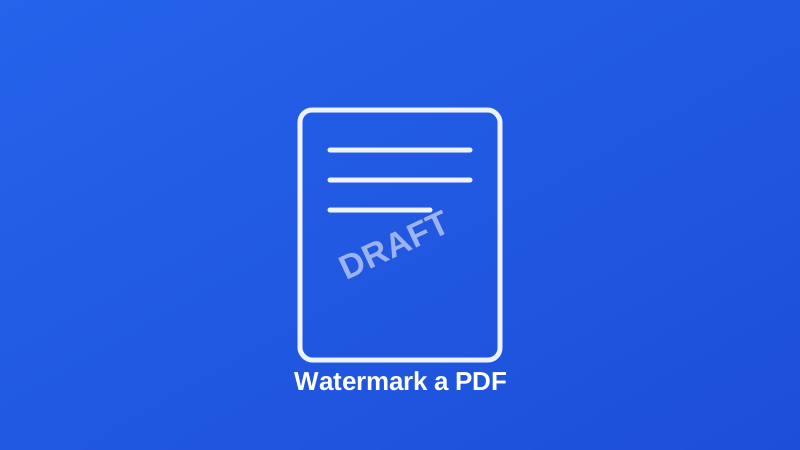
A watermark is one of the smallest changes you can make to a document that carries the most meaning at a glance. Stamp "DRAFT" across a contract and nobody mistakes it for the final version. Stamp a photographer's name across a proof and it stops being usable as a final deliverable while still being fully viewable for approval. It's a single, lightweight step — and it's worth understanding what it actually accomplishes before applying it.
What a Watermark Actually Does
A watermark stamps custom text diagonally across every page of a PDF, at a size and transparency you control, without permanently altering the content underneath it. It's a visible label, layered over the existing document — the underlying text and images are neither removed nor edited, just marked.
The diagonal placement isn't just a stylistic default. Text placed across the middle of a page at an angle is considerably harder to crop or edit out than something confined to a header or footer — which matters if the entire point is that the mark should be difficult to casually remove.
Common Reasons to Watermark a Document
- Marking drafts. "DRAFT" or "NOT FINAL" prevents an in-progress version from being mistaken for something ready to act on — especially important for contracts and financial documents that go through several revisions.
- Protecting shared proofs. Photographers, designers and writers watermark sample work before sharing it publicly, so it can be reviewed without being usable as a finished, unwatermarked product.
- Marking confidentiality. "CONFIDENTIAL" or "INTERNAL ONLY" on a report signals it shouldn't circulate beyond its intended audience, on every page, not just a cover sheet that might get separated from the rest.
- Course material distribution. Educators occasionally watermark shared materials to indicate they shouldn't be redistributed beyond the enrolled class.
How to Add a Watermark, Step by Step
Step 1: Open the Watermark Tool
Go to My PDF's Add Watermark tool. No account or installation is required.
Step 2: Upload Your PDF
Drag your file into the upload area or click to browse and select it.
Step 3: Enter Your Text and Adjust the Settings
Type the watermark text — a short phrase reads far more clearly at an angle than a long sentence. Then adjust:
- Font size — larger for a bold, unmissable mark; smaller for something more understated.
- Opacity — lower keeps the underlying content fully legible through the watermark; higher makes the watermark itself more prominent.
Step 4: Click "Add Watermark" and Download
Processing takes just a few seconds. The watermark is applied consistently across every page in one pass.
Choosing the Right Watermark Text
A few examples, matched to purpose:
| Purpose | Suggested text |
|---|---|
| Marking an in-progress document | DRAFT, NOT FINAL, WORK IN PROGRESS |
| Restricting internal circulation | CONFIDENTIAL, INTERNAL USE ONLY |
| Protecting shared creative work | Your name, studio name, or © + year |
| Marking a sample or preview | SAMPLE, PREVIEW, NOT FOR DISTRIBUTION |
Short, unambiguous text works better than anything clever — the goal is instant recognition, not a design flourish.
Related Reading
If the document you're watermarking is also sensitive enough to need access control, how to password protect your PDF files covers the complementary step. For background on watermarking as a concept beyond PDFs, see Wikipedia's entry on digital watermarking.
Ready to mark up a document? Open the Add Watermark tool and stamp your file in seconds.

Comments
Comments aren't open on the blog yet. In the meantime, share this article using the buttons above, or reach us directly at contact@mypdf.tech.